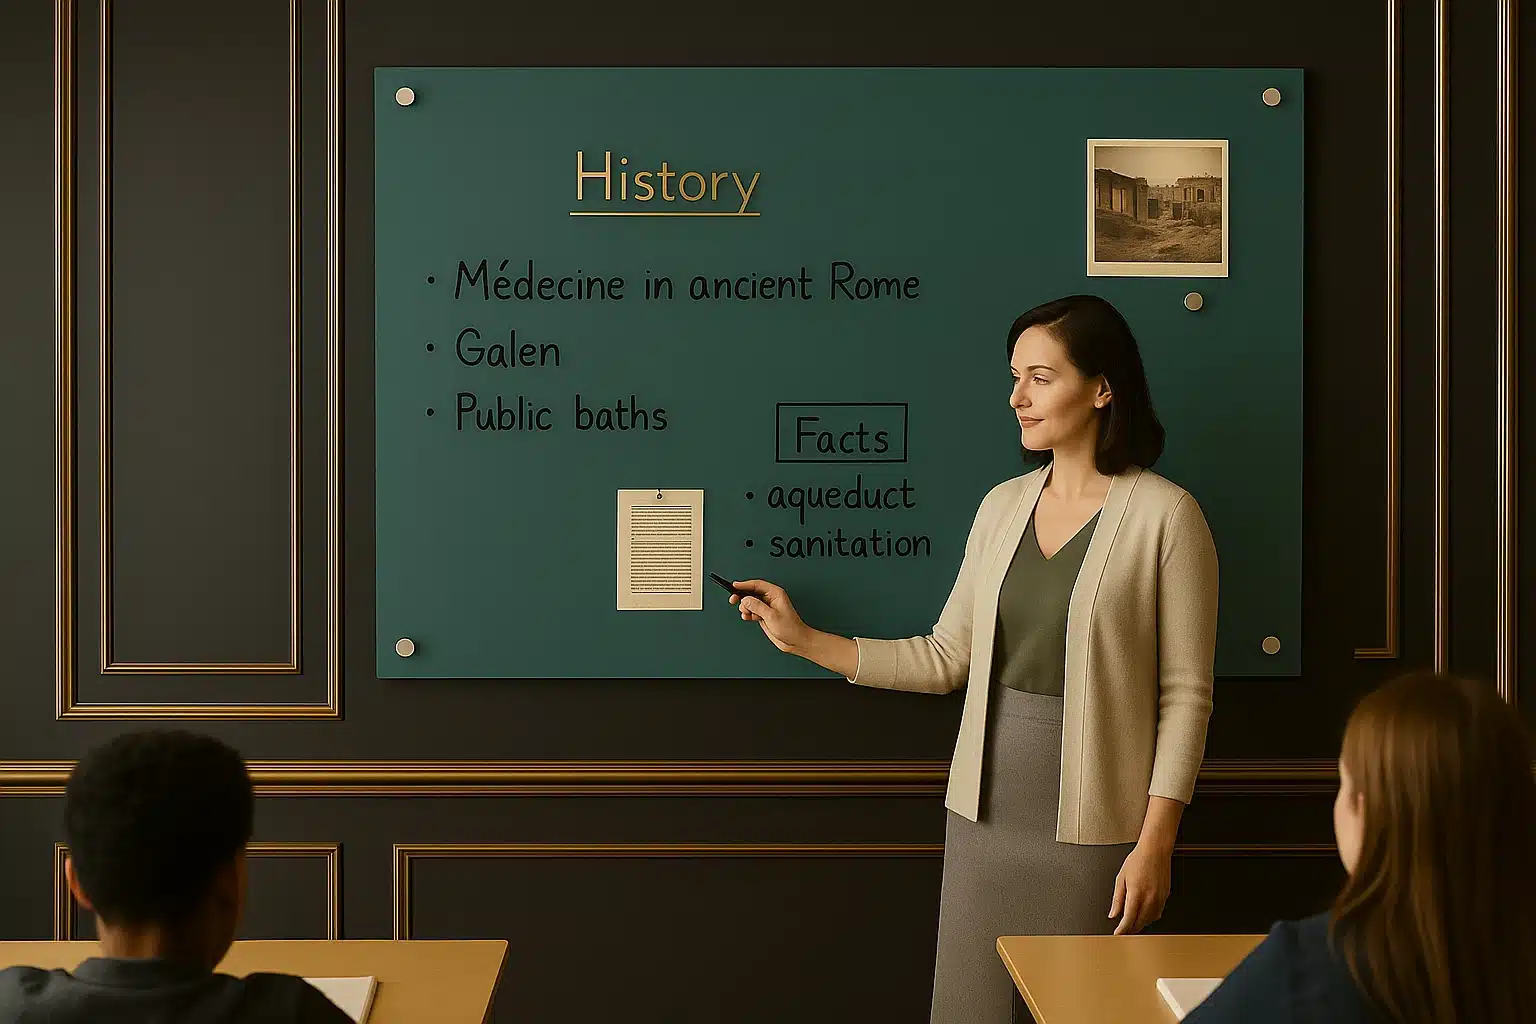
Dry wipe boards have long been a classroom staple but using them effectively requires more than just markers and magnets. After all, a well utilized dry wipe board can transform lessons, clarify complex ideas, and enhance student engagement. Whether you’re a veteran teacher or just starting out, becoming expert with dry wipe board techniques can improve your classroom dynamic significantly. Here’s how to get the most out of this classic teaching tool.
Invest in a Quality Board
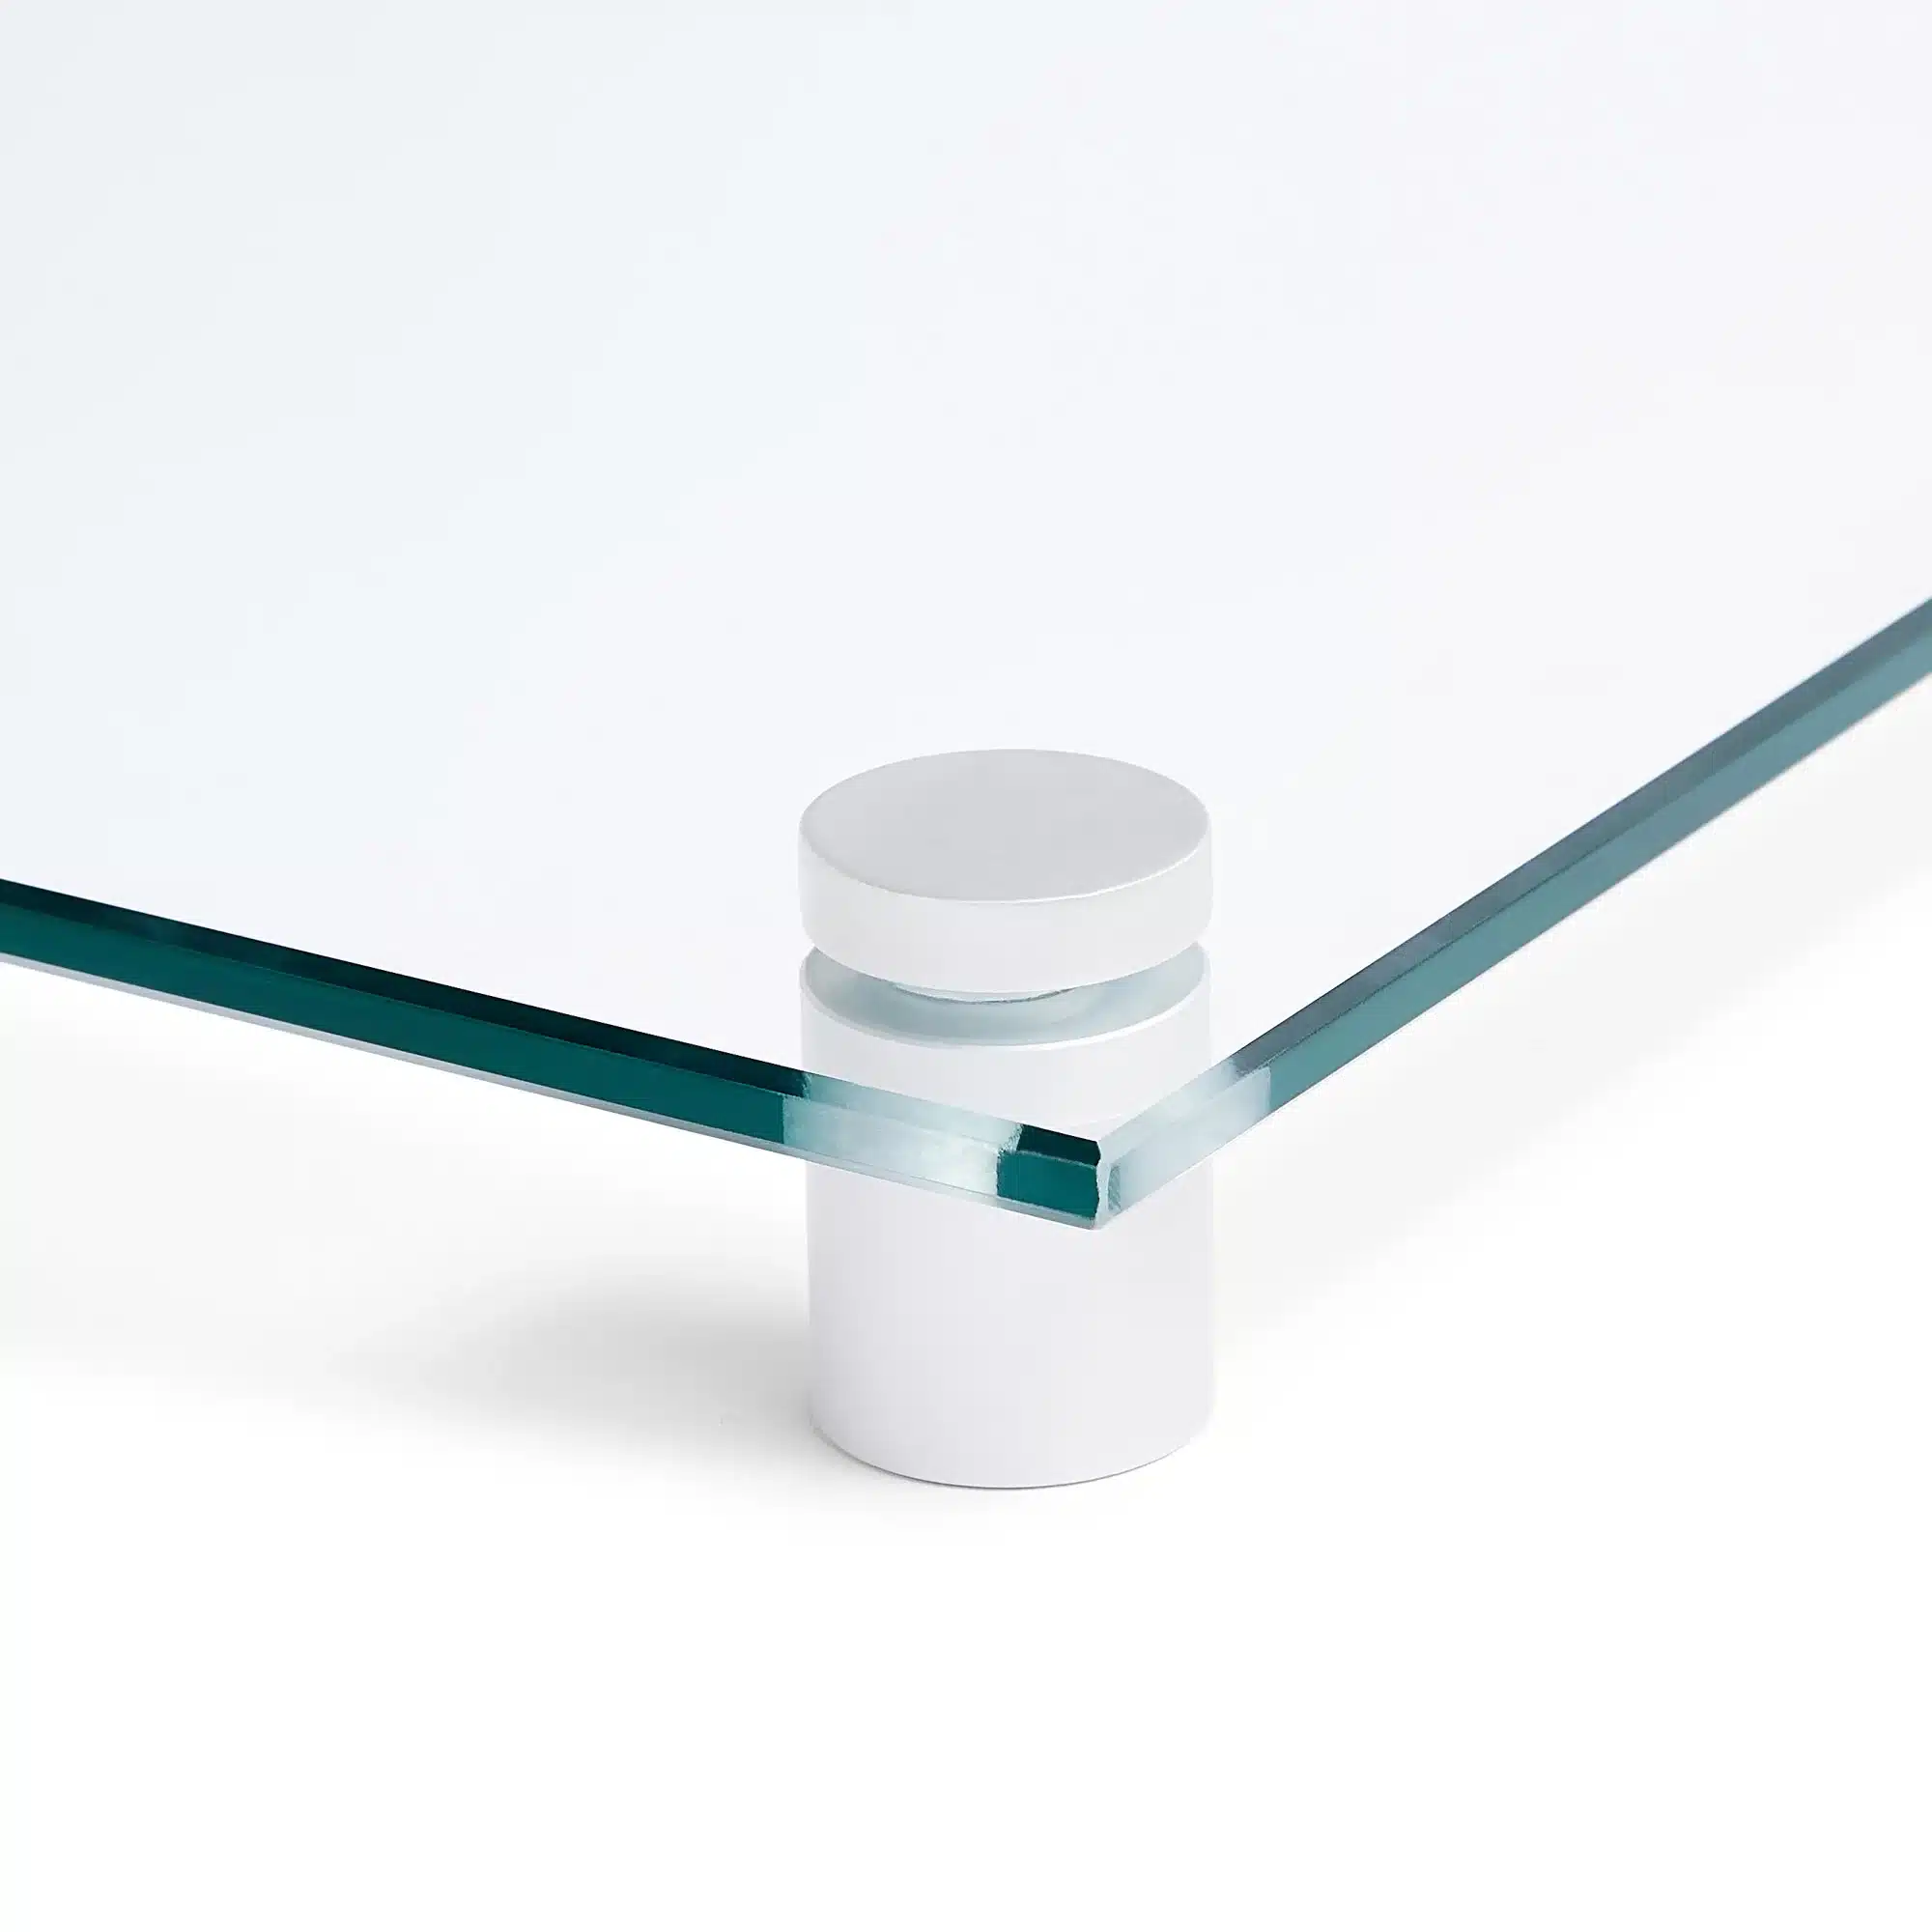
Where possible, make sure you have the best quality board. Unsuprisingly, Glass dry wipe boards have become increasingly popular in classrooms and offices. This is for the following reasons:
- They Never Stain or Ghost
- They have a Sleek, Professional Appearance
- They are Durable and Long-Lasting
- Easy to Clean
- Environmentally Friendly in the Long Term
- Excellent for Projection, particularly low reflectance glass.
Plan Your Space
Before you even pick up a marker, think of your dry wipe board as prime real estate. Divide the board into sections based on how you’ll use it throughout the lesson. For example:
- Left side for the day’s agenda or objectives.
- Centre for the main content of the lesson.
- Right side for vocabulary, student questions, or homework reminders.
Consistent layout helps students know where to look for what, reducing confusion and streamlining your instruction.
Keep It Legible
It sounds simple, but legibility is everything. Use large, clear handwriting and print rather than cursive unless you’re teaching handwriting. Stick to bold, dark markers for maximum contrast—blue, black, and green are ideal on a white background. However white marker on a black background really stand out. Avoid red for long texts; it can be hard to read from a distance. Make sure you are well stocked on markers, just in case!

Stand back periodically to check visibility from the back of the room.
Use Colour Strategically
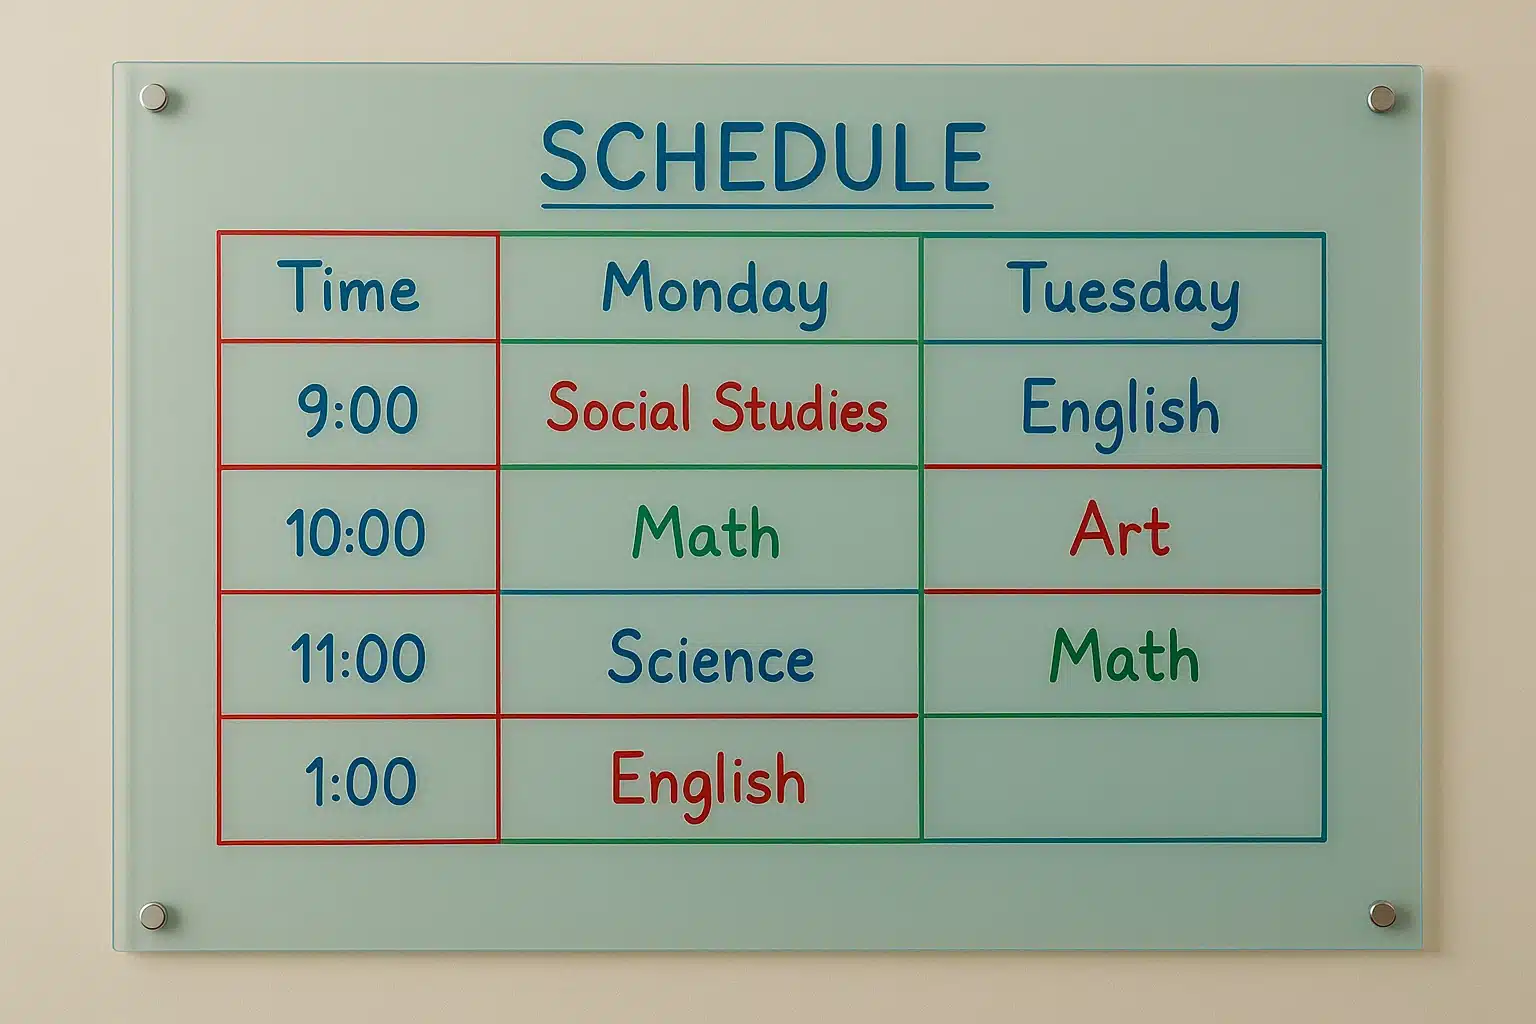
Equally important is colour. Colour coding can enhance memory and organization. Use different colours, for instance, for:
- Key terms or concepts
- Examples vs. definitions
- Student contributions vs. teacher input
However don’t go overboard; conversely too many colours can be distracting! Stick to 2–3 colours per session.
Integrate Visuals
Diagrams, timelines, graphs, and even quick sketches can help visual learners grasp content more easily. Don’t worry about artistic skill—simple stick figures, for example, or symbols can make a big difference.

Use magnets, sticky notes, or printed visuals to add variety and make your board more interactive.
Make It Interactive
Invite students to the dry wipe board regularly. By all means have them use the dry wipe board to:
- Solve problems
- Draw diagrams
- Brainstorm ideas
- Highlight mistakes and correct them
This fosters participation and ownership of learning and additionally keeps students more engaged.
Use It as a Living Document
Despite your dry wipe board being stationary, it doesn’t have to be a static resource. Add to it throughout the lesson as new ideas emerge. Draw arrows, underline new terms, or create quick summaries at the end. Consider using part of the board for a “parking lot” of questions to address later.
Photograph for Reference
Obviously, it would be a shame to let a good lesson disappear with the swipe of an eraser! After your lesson, snap a photo of important dry wipe board content for future reference. You could also use a magnet to pin it back onto your board! This can help absent students catch up. Additionally it can even provide a review resource for all students.

Keep It Clean
A cluttered board can overwhelm students. That’s why erasing irrelevant or outdated content regularly is so important, Don’t forget to keep markers and erasers handy. At the end of the day, give your board a quick wipe-down to keep it looking sharp. Glass dry wipe boards are really easy to clean and last a very long time without clouding.
Furthermore, Simply Glass Wipe Board offers an anti-microbial coating that not only reduces Microbial properties but also reduces cleaning cycles.
Final Thoughts
A dry wipe board is more than just a surface: it’s a stage, a canvas, and a collaborative space. By planning your layout, keeping content clear and interactive, and, also, making smart use of colour and visuals, you can turn every lesson into an engaging and effective experience. So grab a marker and make your dry wipe board work for you—and your students.
